Sonoff B1, lights and shades
Six months ago I was reviewing the AiThinker AiLight, a great looking light bulb with an embedded ESP8266EX microcontroller, driven by a MY9291 LED driver. Just before summer IteadStudio released it's Sonoff B1 [Itead.cc] light bulb, heavily inspired (probably same manufacturer) by the AiLight, at least on the design.
Now that IteadStudio has become popular between the home automation community you can also find the Sonoff B1 on global marketplaces like Ebay or Aliexpress for around 13€.
A closer look at the B1 uncovers some important differences. But before going deeper into the details let me first say that this post will probably look more like a review, at least more than I use to write. And second, yes: ESPurna supports the Sonoff B1 :)
An unboxing?
Not quite so. I leave that to other people with better skills on the video editing world. Let me just tell you than the “box” is somewhat different from what I expected. You might recall the AiLight box: a simple beige drawer-like box with a “WiFi Light” text and a simple icon. No colors, pictures, specifications,… nothing.
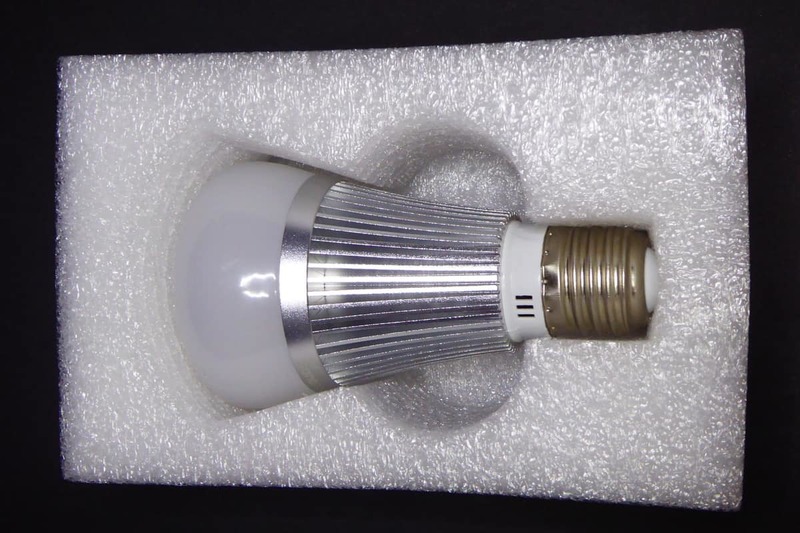
Instead, the Sonoff B1 I received from IteadStudio comes in a colorful box, with the usual pictures and data you can find in retail products.

Inside the box the light bulb is comfy housed in a polyethylene foam, along with a quality control certification and a small “getting started” manual in English and Chinese.** **
A heat sink?
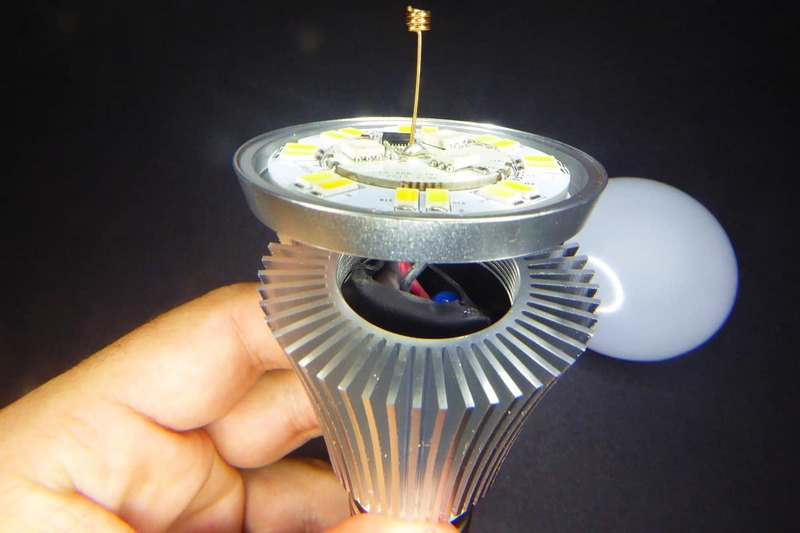
Don't think so. The first thing I noticed when I opened the box was that the bulb was very similar to the AiLight, the second the only visual difference. It certainly looks like a big heat sink. I almost fear touching it while connected. But how much heat can you generate if the light is rated 6W? The bulb body houses a basic AC/DC power supply (90-250VAC to 12VDC) and is accessible unscrewing the metal frame (the heat-sink part from the smooth part with the “sonoff” logo).
The AiLight is also 6W and you can safely touch it, even when it has been at full power for a lot of time. The Sonoff B1 shouldn't be different. So I'm lean towards thinking it's an aesthetic decision. Unless there are some beefy power LEDs inside.
Power LEDs?
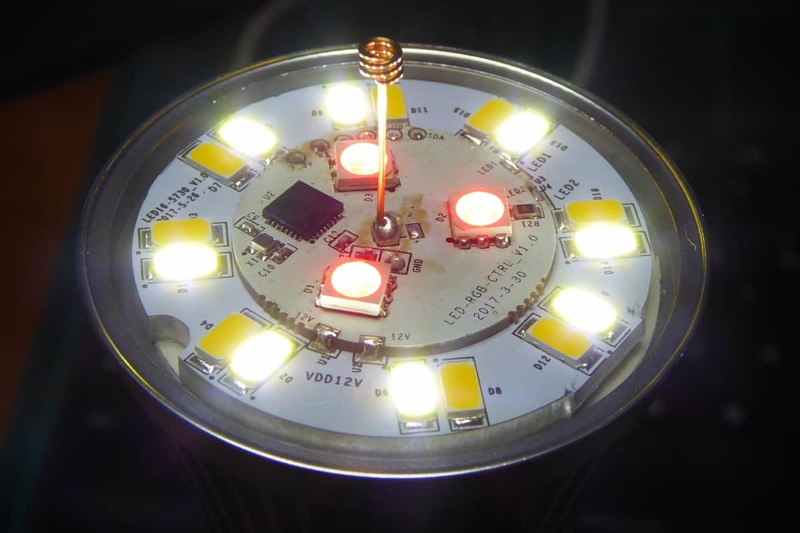
Not all of them. Anyway I think this is the aspect where the B1 clearly differentiates from the AiLight. The later has 8 cold white power LEDs, as well as 6 red, 4 green and 4 blue power LEDs. The Sonoff B1 also has 8 cold white ones. But then it features** 8 warm white power LEDs** and **3 5050 RGB LEDs**!
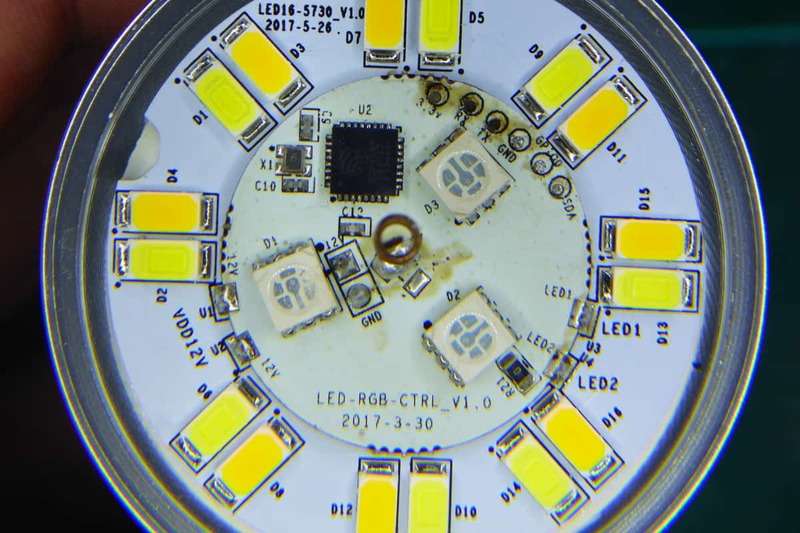
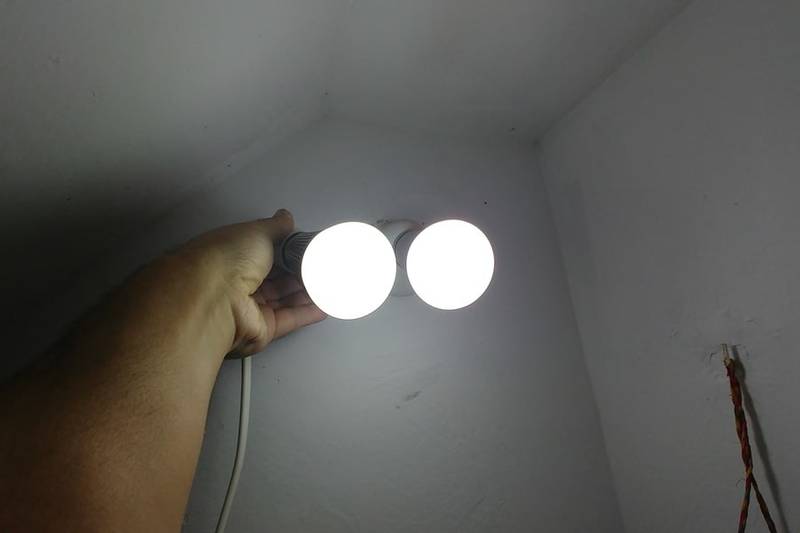
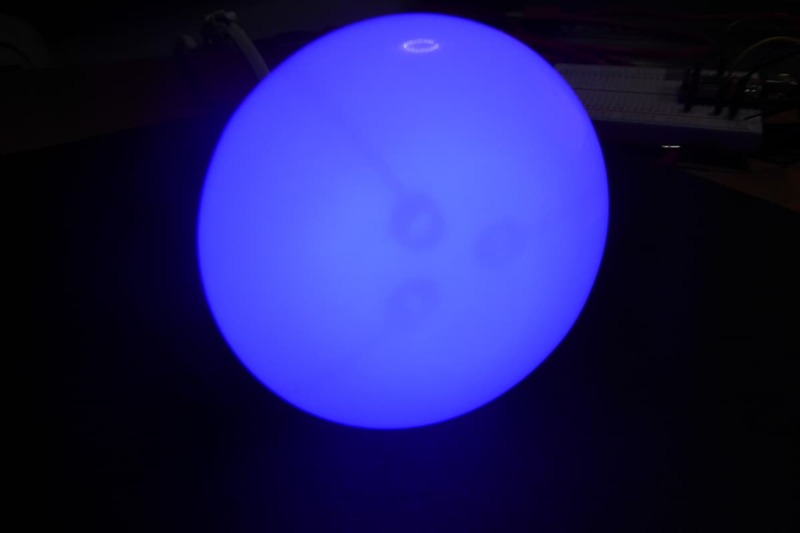
I don't have a luximeter but the difference when fully white between the two is hard to spot. But the warm white color really makes the difference in favor of the Sonoff bulb. On the other hand, the 3 5050 SMD LEDs are clearly not enough. Even more: since the RGB LEDs are closer to the center of the round PCB, just around the WiFi antenna, the shadow of the antenna is very noticeable if you are using a colored light.
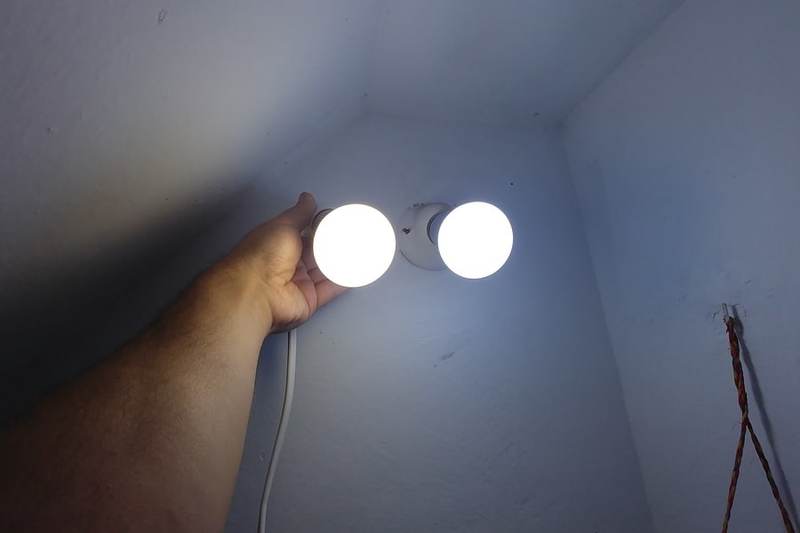
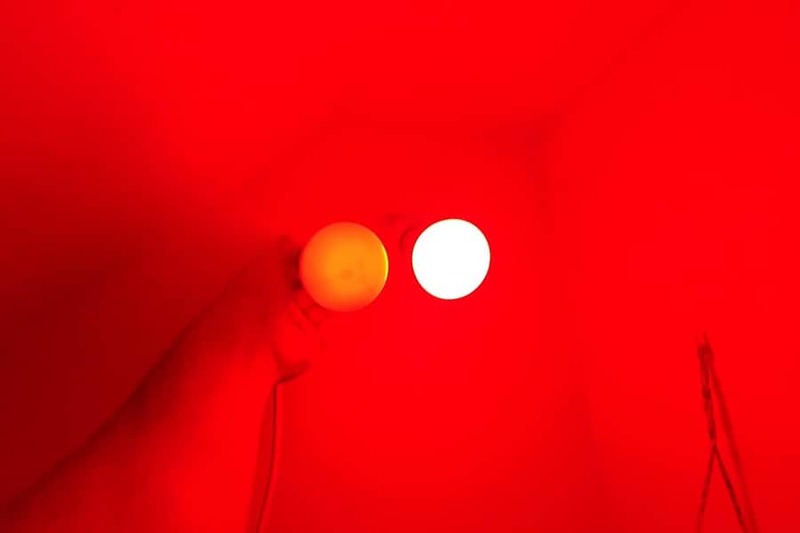
I think the Sonoff B1 could be a better choice when used to** illuminate with a warm white** light your living room or your bedroom than the AiLight. If you need a colorful illumination, discotheque moods or a nice cold white for your kitchen, use the AiLight. Another possible (and interesting) use for Sonoff B1 would be as a **notification light** using traffic light color code, for instance. Clearly visible but not disturbing colors.
The controller?
Not the same. It is actually an ESP8285. In practice, you can talk to it like if it was an ESP2866 with a 1Mb embedded flash using DOUT flash mode. So that's my recommended configuration.
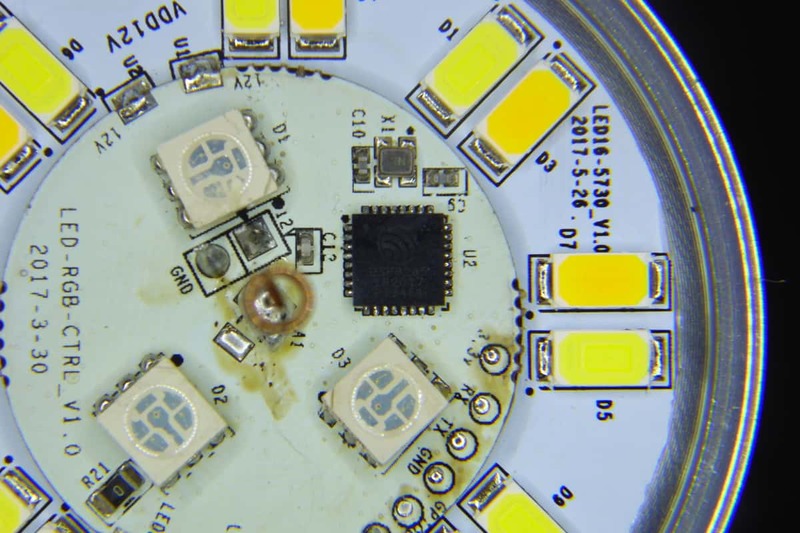
As you can see in the pictures, the PCB is actually 2 PCB, one for the power LEDs and the other one for the microcontroller, some components and the 5050 on the front, a buck converter (12VDC to 3.3VDC for the ESP8285) and the LED driver on the back. The two PCBs are soldered together and glued to the underneath support.
In the AiLight the LED driver is a MY9291 [datasheet, PDF] by My-Semi. The Sonoff B1 uses another My-Semi driver, the MY9231 [datasheet, PDF]. The MY9291 is a 4 channels LED driver but the MY9231 is just 3 channels… so how is it possible to do RGB plus white and warm? Well actually these ICs are daisy chainable, so there are two MY9231 controllers in the Sonoff B1, the first one controlling the white power LEDs and the second the 5050 RGB LEDs.

ESPurna?
The ESPurna firmware is released as **free open software **and can be checked out at my Espurna repository on GitHub.
Sure! You can flash the Sonoff B1 following the same procedure of the AiLight. There are 6 pads on the PCB labelled 3V3, RX, TX, GND, GPIO0 and SDA. You will need to wire the first 5 (tin you cable, apply a small drop on the pad and then heat them together). Connect RX to TX, TX to RX, GND to GND, GPIO0 to GND and finally 3V3 to the 3V3 power source of your programmer. It will then enter into flash mode (GPIO0 is grounded). You can either flash the bin file from the ESPurna downloads section or build your own image (check the ESPurna wiki for docs).

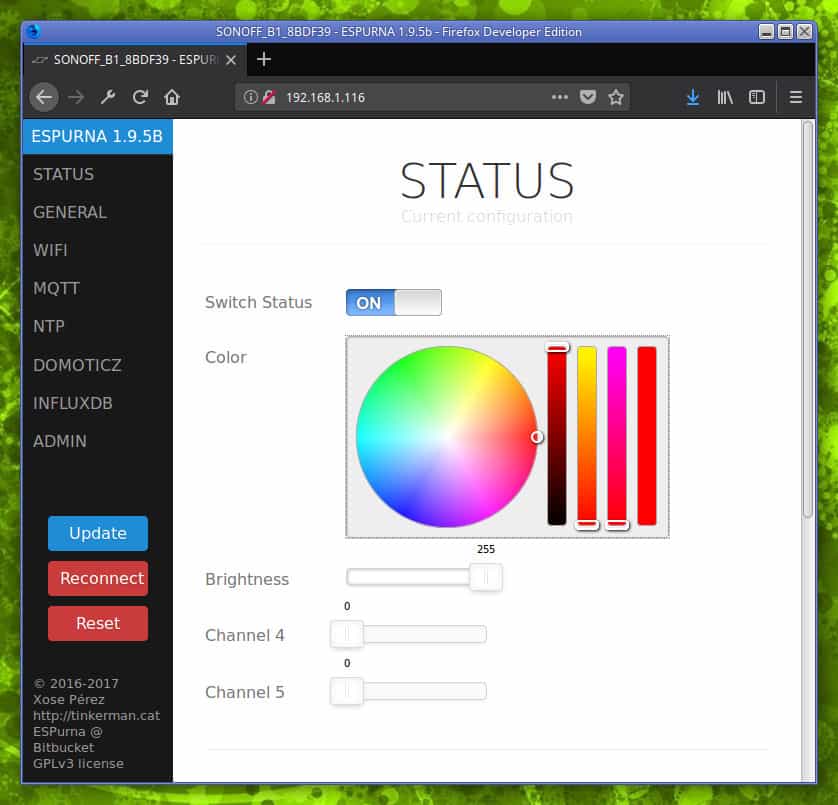
Since ESPurna version 1.9.0 you define and control any number of dimming channels, you can also define the first three to be RGB channels. If you do, the web UI will show you a colorpicker to select the color.
// 100% red
mosquitto_pub -t /home/study/light/color/set -m "#FF0000";

// 100% warm white
mosquitto_pub -t /home/study/light/color/set -m "0,0,0,0,255";

// 300 mired color temperature
mosquitto_pub -t /home/study/light/color/set -m "M300";

// 4000 kelvin color temperature
mosquitto_pub -t /home/study/light/color/set -m "K4000";
Of course you can also use Home Assistant MQTT Light component. The configuration would look like this:
light:
  - platform: mqtt
    name: 'AI Light TEST'
    state_topic: '/home/study/light/relay/0'
    command_topic: '/home/study/light/relay/0/set'
    payload_on: 1
    payload_off: 0
    rgb_state_topic: '/home/study/light/color'
    rgb_command_topic: '/home/study/light/color/set'
    rgb: true
    optimistic: false
    color_temp: true
    color_temp_command_topic: '/home/study/light/mired/set'
    brightness: true
    brightness_command_topic: '/home/study/light/brightness/set'
    brightness_state_topic: '/home/study/light/brightness'
    white_value: true
    white_value_command_topic: '/home/study/light/channel/3/set'
    white_value_state_topic: '/home/study/light/channel/3'
Either way, flashing custom firmware like ESPurna on a 13€ Sonoff B1 [Ebay] device allows you to first fully control your device (no connections outside your home network if you don't want to) and second, make it interoperate with other services like Home Assistant, Domoticz, Node-RED or any other MQTT o REST capable services.
After all, I'm talking about Technological Sovereignty.
"Sonoff B1, lights and shades" was first posted on 27 September 2017 by Xose Pérez on tinkerman.cat under Analysis, Hacking and tagged ailight, aithinker, domoticz, esp8266, esp8285, espurna, home assistant, itead, iteadstudio, mqtt, my-semi, my9231, my9291, node-red, rest, sonoff, sonoff b1.