ESPurna smart socket
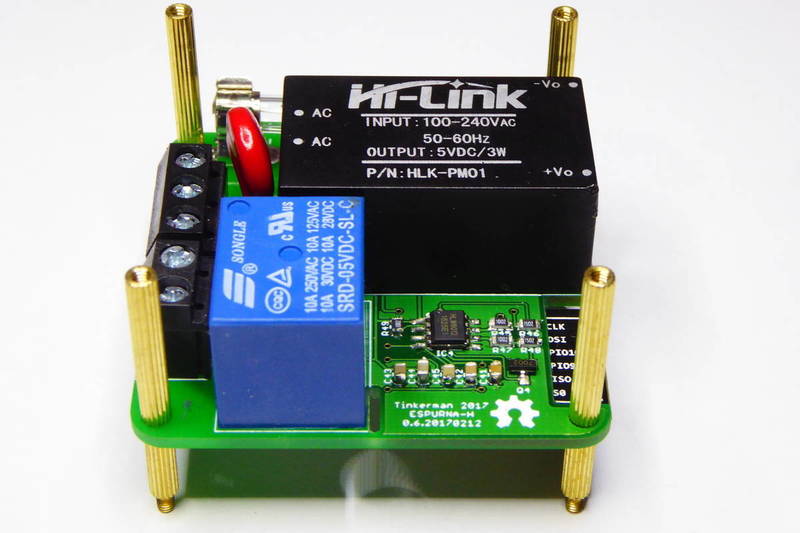
After a busy month I decided to spend some energy on doing hardware instead of software and the result was the ESPurna board I posted about just yesterday. The goal was to have a device based on the ESP8266 I could fit into my house wall gangs, with an SPDT relay to work with multi-way switches and power monitoring using the same IC the Sonoff POW uses: the HLW8012.
As a side project today I've been searching on the box of the TODO projects and I have rescued a KEMO STG15 [Ebay] plug housing with socket. These sockets are somewhat expensive and really bulky but the good thing is that there is quite some room to fit some electronics inside, but not a Sonoff board, too big.
But, what about an ESPurna board?
ESPurna inside
The ESPurna-H board is released under the Creative Commons Attribution-ShareAlike 3.0 Unported License (CC-BY-SA 3.0) and follows the terms of the OSHW (Open-source hardware) Statement of Principles 1.0. It can be checked out at my ESPurna board repository on Github.
The socket has some placeholders to screw a board inside, but the form factor does not match that of the ESPurna board. They draw a rectangle of 52x34mm while the ESPurna board has holes disposed in a square of 44x44mm. Then I thought about hot-gluing the board somehow. Problem is that the HLK-PM01 gets hot when operating and didn't feel hot gluing was a good idea.
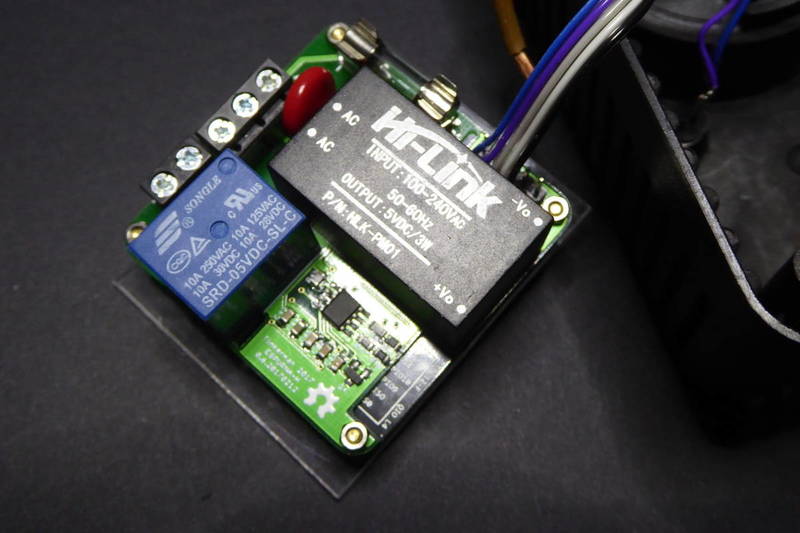
Then I started thinking about the ventilation dents on the sides of the socket. From the inside they look like rack slots with 6mm step between them. Maybe I could rack the board there? The ESPurna board is 50mm width. I needed around 60mm to rack it in both sides of the socket so I cut an adaptor from a piece of methacrylate of 60x50mm with holes for the ESPurna board.
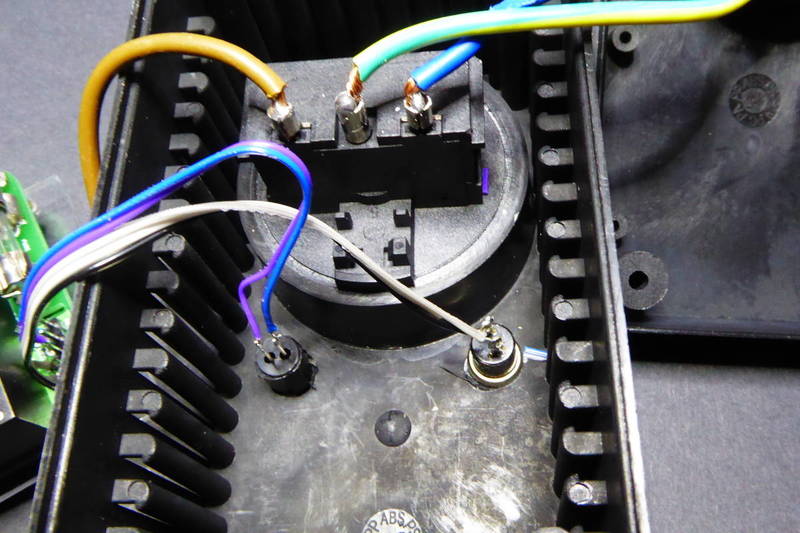
The 2mm width plastic sheet fits tight in the vents. There is still room to let the air flow and even to add a case mounted push button and a notification LED. Finally I did add some hot glue on these two to prevent the cables to come loose inside the box.
Gallery

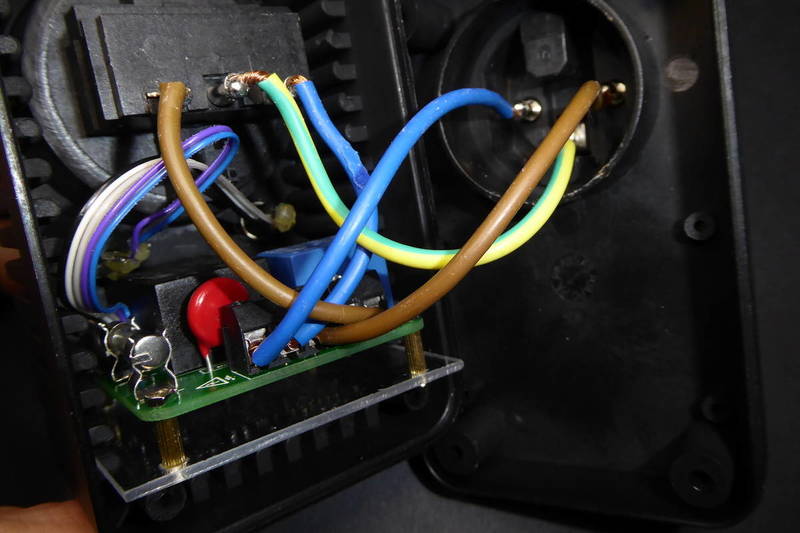
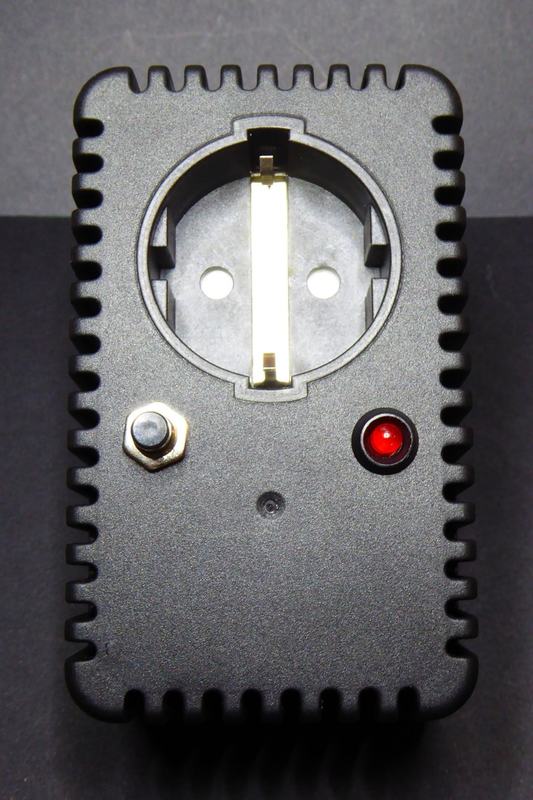
Final result
The final result looks quite nice. Not as slim as the Itead Studio S20 but this one has power monitoring capabilities and flashed with the ESPurna firmware it supports MQTT and Alexa amongst other goodies.
Now it's time to play with it. I've been monitoring my house power consumption for a few years already, now I have the tool to do it for each appliance and manage them remotely from my cellphone or from Node-RED based on different inputs.
"ESPurna smart socket" was first posted on 09 April 2017 by Xose Pérez on tinkerman.cat under Projects and tagged alexa, esp8266, espurna, hlk-pm01, hlw8012, kemo, mqtt, node-red, pow, power monitor, sonoff, stg15, wall socket.